For the love of all things vintage, clever, designed, and/or delicious, we celebrate objects and rituals in all their glory!

Showing posts with label the dupe. Show all posts

9.01.2011

Kitchen Progress

We decided to put things into high gear last week on our kitchen. I cutoff nearly all contact with the outside world and started calling in those favors from friends we knew we needed to get the job done.


First Jared and Nick helped me face my fear/lack of competence in electrical work and install all new electrical to the kitchen including the installation of recessed can lighting (so awesome to have now!)


Then my step dad Stan and I spent a day installing solid oak hardwood reclaimed from a friend of ours house. It was a total puzzle to put together but will look awesome and match the existing floor once it's all refinished.


Finally, Nick from Piano Nobile helped us cap off the week with the installation of our steel support frame, which looks and feels incredible in the space. We can really start to get a sense of how the kitchen will actually feel and it's such a huge improvement despite being a complete mess. So excited to get drywall in and start on the cabinets!

Heres an overall glimpse of the space:


8.05.2011

Demolition Derby


Ahhhhh!!! We're officially in the kitchen remodel funnel! Well, technically we're kitchen-less at the moment and I guess technically we could make a decision: spend every free moment we have in the next two months laboring over as close to the kitchen of our dreams as our architecture and budget will allow or just live indefinitely without a kitchen...washing dishes in the basement utility sink and learning the fine art of microwave and toaster oven cooking....


Sorry, I know everyone and their mother is using instagram photo filters these days, but it's really the only way to make this whole mess of a project look semi-romantic and exciting...
Anyways, last Saturday Jean's brother-in-law and I grabbed our sledge hammers and obliterated the kitchen down to the studs and subfloor. The space feels so cool now...so open...so raw. Makes us just want to leave it as is except for the no sink, oven, cooktop, or countertop part.

The diagonally-laid solid wood subfloor is particularly cool...


Even our (leaky) temporary sink has some tempting rustic charm...


Wouldn't it be a shame to seal up that hidden neitherland area above the ceiling of our stairs? It's like a whole other entirely useless room in there!


We're hoping that all this roughing it will be worth it when we finally complete the project. To keep our spirits and motivation up, we have to continually refer to the sketchup model of the final space.


We're so excited to have an open kitchen that we can actually hang out in! The center island is going to awesome for prep, eating, and talking. The low seating area at the back will allow us to utilize our over abundance of dining chairs (ridiculous considering we don't have a dining room).
Framing the island is a steel structure our friend Nick at Piano Nobile is making for us to support the span. It will be powdercoated steel profiles with an incorporated rail for hanging pots and pans, plants, utensils, etc.


The kitchen will also get all new electrical and a reclaimed oak hardwood floor, new appliances, etc. So, yeah, it's going to be a long journey, but at this point we don't really have any choice. ONWARD WITH THE KITCHEN!!

1.02.2011

Starting 2011 With a Big SHABANG! (through our kitchen wall)

HAPPY 2011!!!
L&G started the year with a big bang.....through our wall between our kitchen & living room on New Year's Day!!

This is just PHASE 1 of only-god-knows-how-many-phases-we'll-take-to-do-our-kitchen-remodel project.
We decided that this year we're gonna actually devote some time/effort/$$ for our house that's been a little neglected....
But also we just got tired of the middle wall that divided our living room & kitchen, which made our kitchen feel too closed off since the living room & kitchen is where both of us hang out majority of the time.

So as the first step, we decided to tear some stuff out to start the project.... and also release all the stress built up from 2010!!

Here's what it looked like BEFORE looking from the living room.

Dylan specking the wall to see what's up.
We took some time to tarp everything off...which is always surprisingly time consuming and not very exciting...
But then we started to tear out the first side of the drywall!!
And since I forgot to take photos, let's fast forward past making bunch of dusty mess, making grunting & hammering noises, taking down the upper cabinets and then tearing out the other side of the wall ....
TA-DA...we went through the wall!

Along the way I had to take this photo of this awesome texture, which was previously our 70's mauve colored tiled back splash wall....

Then we noticed that there's a mysterious half beam on the left side....yes, we just opened a whole can of worms.... This is gonna be an interesting challenge....

But here's what it looks like AFTER!
I know!...NOT that impressive looking at all!
Just to warn you, there's gonna be a whole lot of BEFORE/AFTER photos of stuff like this where the 'after' photos are just gonna look worse than before since it's probably just gonna be things getting torn up more and more....but hopefully that will change where the 'after' photos will get better as we get to do more exciting things.
But at least now you can see the whole kitchen from the living room!
The best part is that there's tons of light coming from the living room now, which is totally great!
I'm totally stoked about it even with just this raw-open wall. :D

Now we need to go figure out what to do with that weird half-beam....

4.10.2010

Kitchen Dreamin'

So, we're standing on the edge of the funnel here at the L&G homestead...the kitchen remodel funnel. And there we pause peaking over the edge of the funnel, half scared, half excited, half unsure, half confident, and half really bad at fractions. In this moment of reflection, we'd like to use a few posts to share a glimpse at what is inspiring our soon to be torn up and put back together kitchen.
We're lovin' this island. We really want a dining height eating surface and this is the most elegant integration of one yet.


The feeling of this room is really nice. The graphic black kitchen with the mis-matched dining chairs.


A nice mix of materials.


The red here helps define the work area graphically.

7.30.2009

Garden update


We're kicking some major gardening butt thanks to all the amazing summer weather we've been having.

Above: our very own bright orange cherry tomatoes! Heirlooms and many more cherries to come very soon.


Chinese Eggplant almost ready to pick


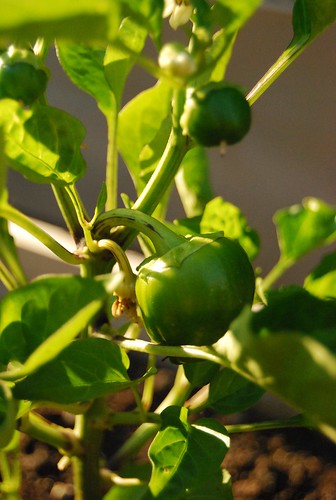
Green Peppers beginning to show their face.


Cucumbers are going crazy! We had our very first batch of cucumber cookies when I picked the first ripe cuc' today. Yummy!

Special thanks to the sun for finally taking the time for a long-term stay in Seattle...keep it coming, but try to keep it under 90 degrees...pleeeeeaase...

7.19.2009

We've got shelves!

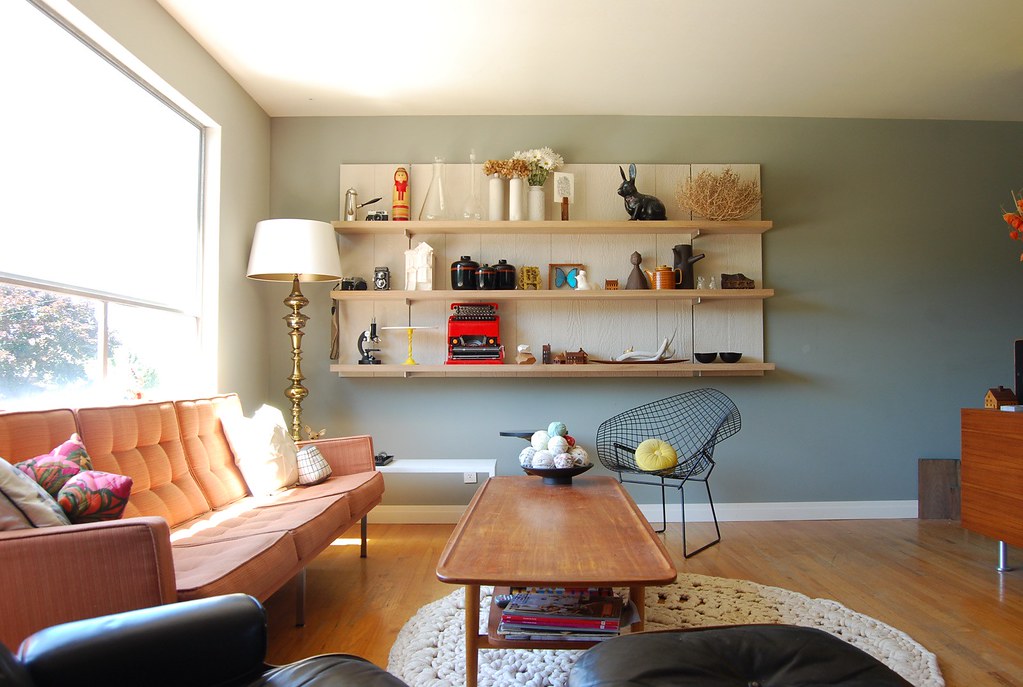
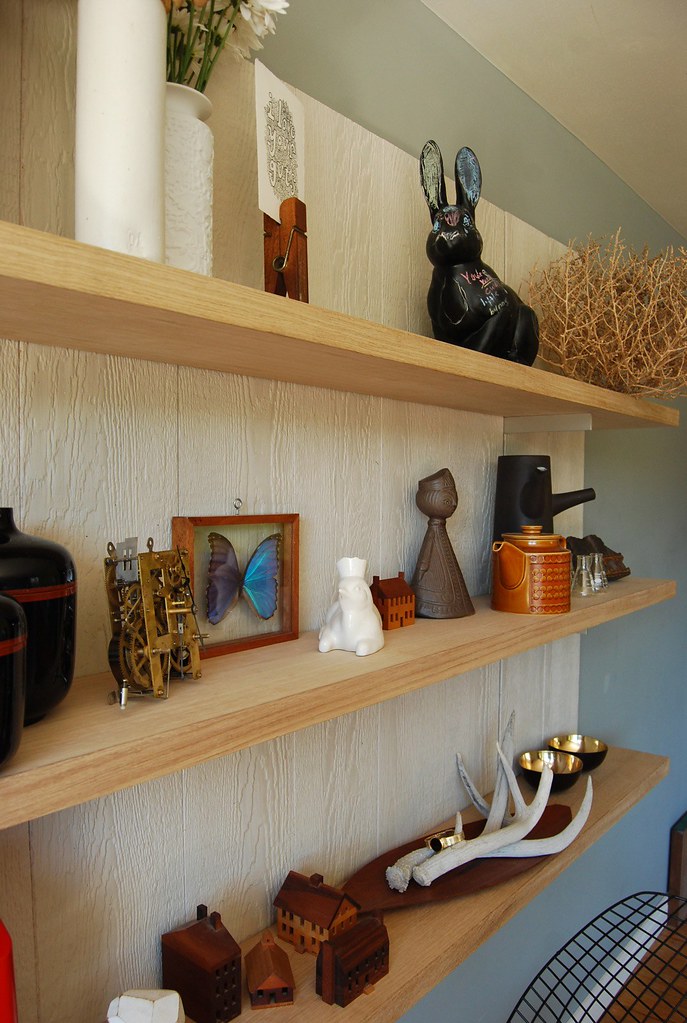
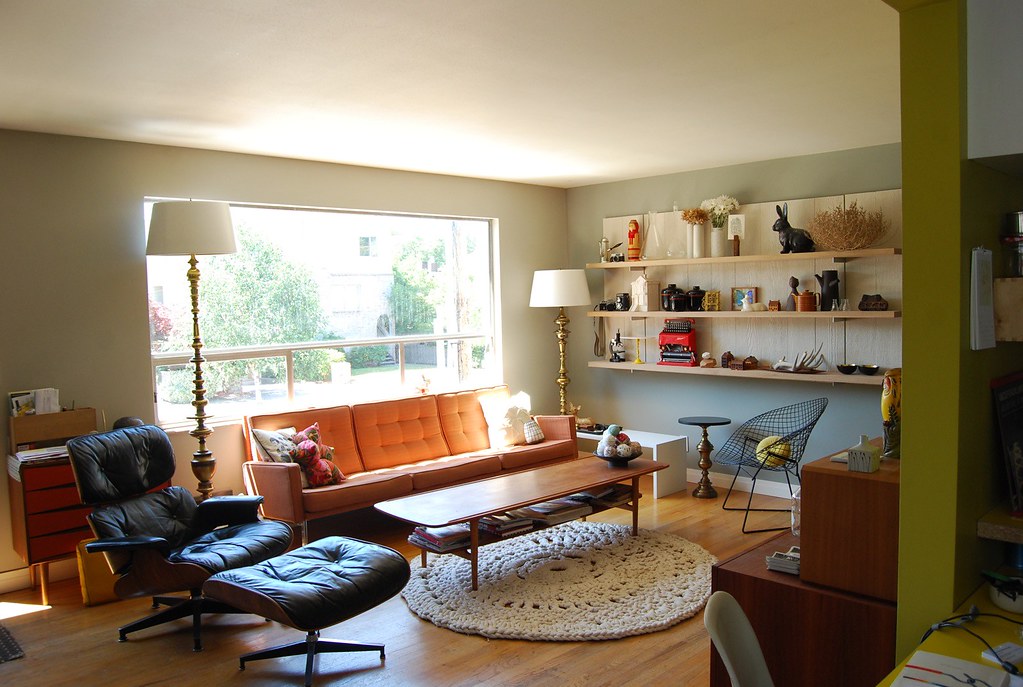
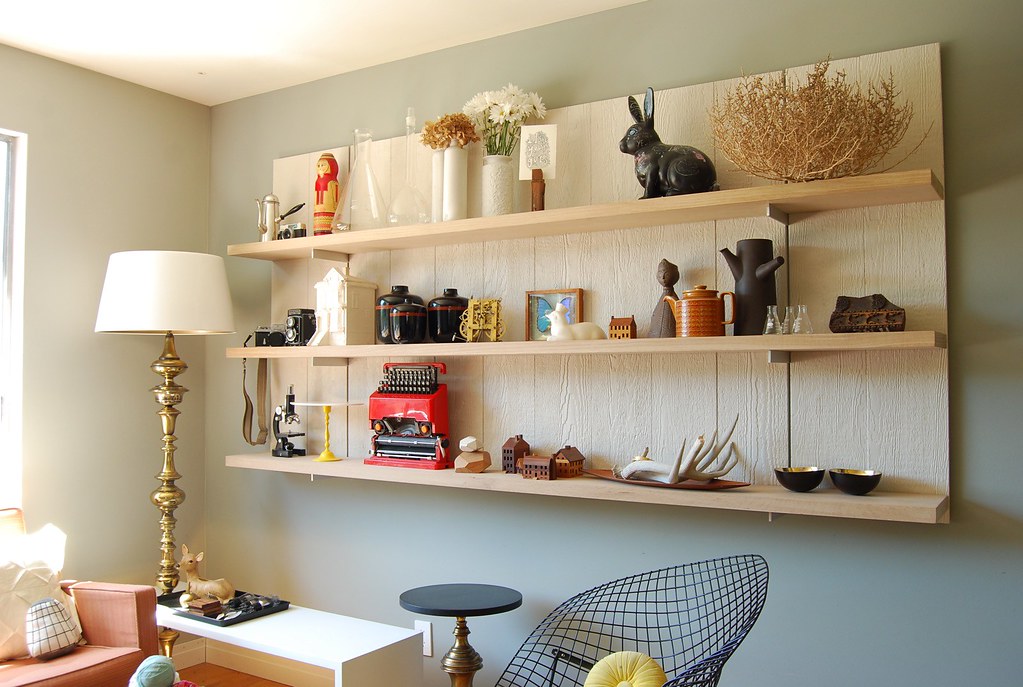
2 more shelves done and I think I might not need the 4th one. Here are some pics installed with goodies on the shelves.


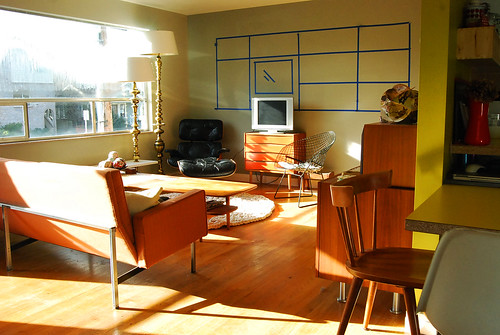
Above is a before shot with blue tape outlining the proposed shelving arrangement (the TV was originally going to go here). Months and months later the dream is nearly realized! Just have to figure out how to finish the shelves, but not change the color of the wood (I don't want it to yellow...any ideas?).


More on Flickr

7.17.2009

One Step closer to shelving...


Anyone who has visited our side of the dupe in the past 2+ months may recall the seemingly purposeless white wood textured panels on our wall. The panels were the beginning of our built-in shelving...one of those projects that has taken way too long. We got one step closer recently. Finally, I have 1 shelf of 4 sort-of-kind-of ready. I'm pretending it's ready at least. 3 more to go! Plus notching for the brackets and finishing them.


I am building the shelves using this great bracket system from Rakks and using the wood-textured wall panels (actually planks of primed house siding) as wall panels that hide the the required vertical brackets in the gaps between. The shelves will be lightened white oak and will be adjustable in height using the clever camming action of the Rakks bracket. I'm planning on routing channels in the shelves to partially hide the brackets.

More on the whole project when I finally get the damn thing done.