
For the love of all things vintage, clever, designed, and/or delicious, we celebrate objects and rituals in all their glory!
 This weekend I'll be at the first Summer Urban Craft Uprising (UCU) indie craft show!
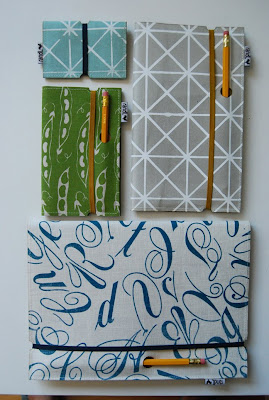
 Another new exciting items we're gonna have are these notebooks we're debuting at UCU! These are made with LOVELY hand printed fabric by Isabelle of Piano Nobile. We recently befriended Isabelle and Nicholas and they're wonderful enough to print these fabric in time for us to sell at the show! I'm drooling over them myself....don't worry, I'll wipe off my drool.
  AND our dear and super talented friend, Ingrid will be selling her awesome bags at our booth as well! I'm totally excited to see what she'll be bringing!


 We're Big Carteling it up again and posting the AlphaBrass side tables that appeared in JOIN's Ctrl Alt Design show. The table's bases are made of modules from vintage brass table lamps. We're adding these tables to our other previous AlphaBrass lamp and bench.
 Check out our new shop to buy buy buy. We'll be producing a limited run of them with Paperstone, walnut, and white oak tops. Each will have a slightly different profile and height according to available brass lamp modules. Hooray!
 With the JOIN show behind us, our pieces are back in our possession, so I wanted to share this series that Jean put together of chalkboard coated figurines. It's called "Chalk it to Me" and it debut in our recent show, Ctrl+Alt+Design show last month. These figures are one offs from rummaging through thrift stores and spending hours on ebay looking for the right figures. Now you can interact more with figurines a little bit more on a daily biases...bunny figures has needs,too....they like to feel special every once in a while, too. Just like all of us. :D
 Shepherdoodle
  Buddha Gone Wild. (AKA, Raise the roof Buddha)
 Limited pieces are up for sale on our test Big Cartel shop we're currently piloting. More to come soon!
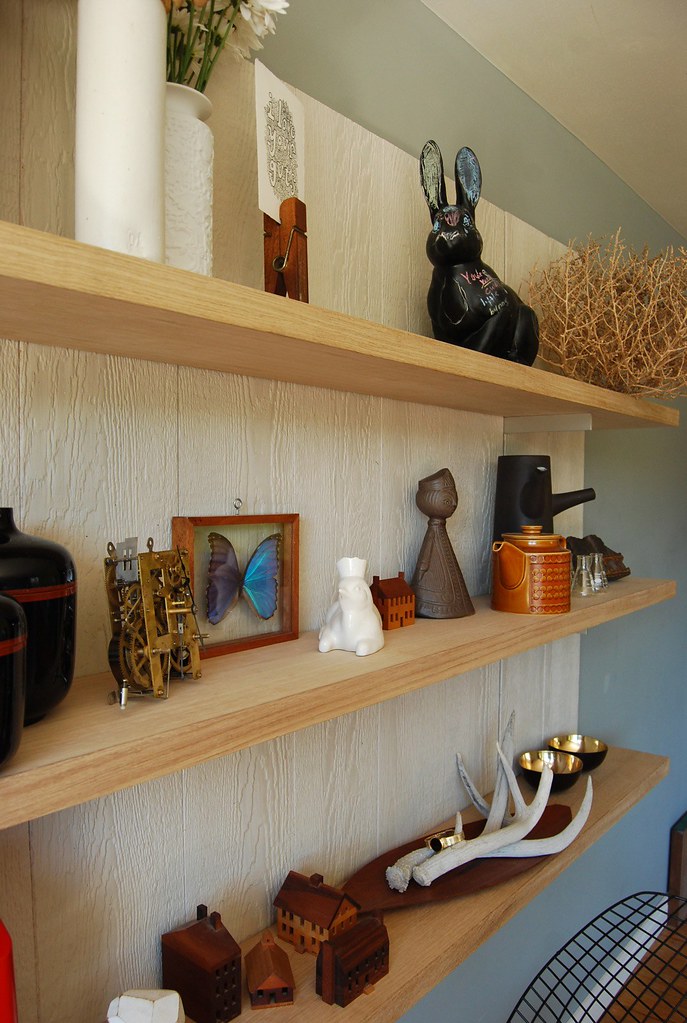
 2 more shelves done and I think I might not need the 4th one. Here are some pics installed with goodies on the shelves.
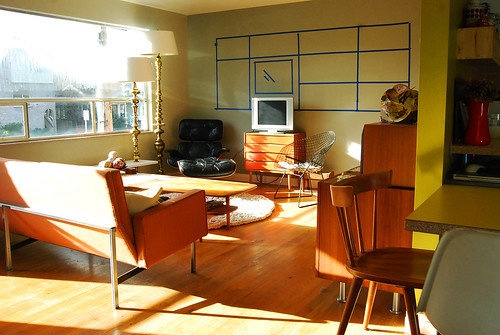
 Above is a before shot with blue tape outlining the proposed shelving arrangement (the TV was originally going to go here). Months and months later the dream is nearly realized! Just have to figure out how to finish the shelves, but not change the color of the wood (I don't want it to yellow...any ideas?).


 Chika and I met with Isabelle last Monday. Over coffee, berries, and coffee cake - we decided to do some collaborating! Isabelle has been printing her own textiles for home and personal accessories, so her scrap bin contains a lot of high quality fabrics. The following pictures feature the various patterns and pieces she gave us, and what we did with them.


 Chika peeled, sliced, and soaked them in water the day before to take out some starch. This was an important step to ensure the best result for the ultimate fries.

Preheat the oven to 350°F. Cut croissant into 1 inch cubes. Spread croissant on a baking sheet. Bake until lightly toasted; set aside and turn oven off. Spread 1 tablespoon butter in the bottom of an 8 or 9-inch square baking dish and add toasted croissant cubes. Heat half and half and remaining butter in a medium saucepan until almost boiling; add vanilla and sherry; cool to room temp. Whisk together sugar and eggs in a medium bowl and slowly whisk in chocolate mixture. Fill bottom of baking dish with one layer of croissant (use about a third of the croissant cubes), sprinkle with chocolate. Pour sauce over croissant cubes, making sure that all are coated with mixture. Repeat step until the whole dish is filled with croissant, chocolate, and sauce. Let stand for 1 hour and preheat oven to 350°F. Bake for 35 minutes. Serve warm with whipping cream or ice cream!


 This happened about a 2 months ago, and I've been putting it off. But Chika and I did a special project for Henrybuilt.


 The following weekend, we'll be in lovely San Francisco for Renegade, July 17th & 18th.
 We got lots of new stuff...but of course we didn't get around to take photos of other stuff like the plant pals, buttons, and patch kits.
 Th process of bleach stenciling is SO simple, but the result looks more than just ordinary!! The possibility to play with layers, time, and ways to apply makes it super fun, since the results can look so different!
 Step 3: Spray back of Mylar with light adhesive spray to keep stencil secure.
 Step 5: Wait and watch the magic happen! You can see the color change immediately. It's so much fun to watch.
 Step 7: Wash it in the washing machine in cold water right after. This is to set the bleach so it stops the bleaching process. Ta-da, you have yourself a awesme shirt!!
 I think it's adorable...I actually might just make a print of JUST that.